
Tornado Interceptor Lab How to Build an Interceptor
Turn intercept money into a lab prototype that actually survives storms.
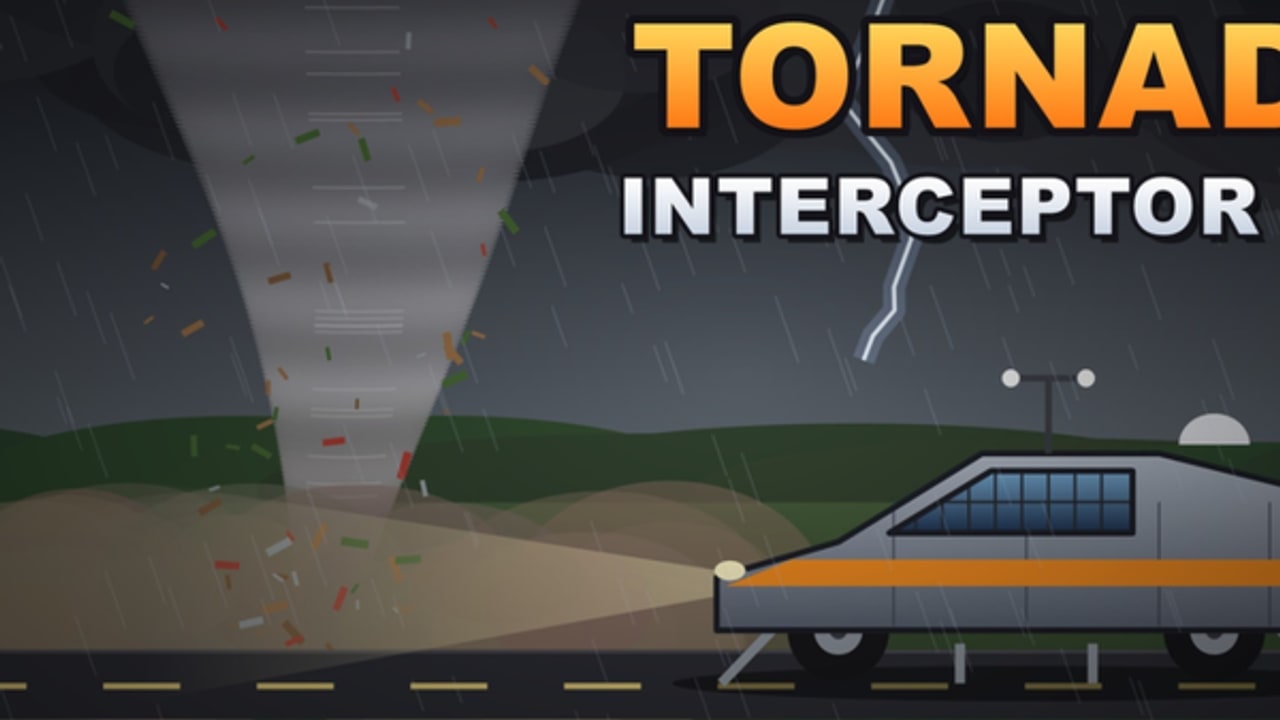
Building an interceptor is the fantasy promise of Tornado Interceptor Lab on Roblox. Arvexa studio’s beta lets you earn money from tornado intercepts, then spend it on parts and mods—or assemble a custom machine in the lab. This guide walks a practical lab workflow so your prototype climbs interceptor tiers instead of becoming a C-tier fashion brick.
If you are brand new, skim getting started first. Come back here when you have at least one successful payout.
Lab mindset: one job per session
Every lab visit should answer a single question:
- “Can I cover the wheels with flaps at cruise height?”
- “Can I finish a mid-tier intercept without shedding parts?”
- “Can I reposition for a second attempt?”
Trying to solve cosmetics, EF6 armor, and money farming in one shopping spree usually fails. Pick one job, buy for that job, test in the field, then return.
Step 1 — Bank money the honest way
Run clean intercepts with how to intercept. Do not wait on codes (none verified yet) and do not touch executor unlockers (safe script usage). A small, reliable bank beats a risky all-in purchase.
Step 2 — Set stance before flex
Lower the vehicle so flaps can fully shroud the wheels. Community players treat that coverage as the gateway to roughly +30–50 threshold. Deep mechanics live on flaps and threshold. If your cool wing forces a taller ride height that uncovers tires, delete the wing.
Step 3 — Install coverage hardware
Follow S-priority items from parts ranking and tick them on the parts checklist. Actuators, flap panels, and mounts that preserve coverage under bump loads matter more than a new paint layer—even if you love the blue Cad 1 Prototype look.
Step 4 — Brace the chassis
Once coverage exists, spend on bracing and structural mods so a glancing hit does not turn your interceptor into confetti. Prototype frames can look aggressive—Cad 1 style shells prove that—but they still need bones.
Step 5 — Add powertrain only for missed angles
If you survive contact yet fail because you cannot rotate back into the path, invest in acceleration, braking, or steering response. Power without coverage just helps you fail faster.
Step 6 — Test loop (non-negotiable)
- Leave the lab.
- Attack the same mid-tier storm type three times.
- Note threshold feel, part loss, and abort timing.
- Return to the lab with one written change.
- Only then consider harder weather or survive EF6 practice.
Skipping the test loop is how players bankrupt themselves on unproven stacks.
Studying community prototypes
Watch live servers and clips for patterns, not clones. The Cad 1 Prototype teaches flap visibility, blue prototype aesthetics, and a stance that respects the ground. Translate those lessons into your budget. Discuss iterations politely on the community page and compare final roles on interceptor tiers.
Budget templates (beta-flexible)
Starter prototype (first real rebuild): 70% flaps/stance, 20% bracing, 10% emergency repair fund.
Money-farm A-tier push: 50% coverage upkeep, 30% powertrain, 20% bracing.
Highlight hunter: Only after A/S consistency—allocate a survival reserve before EF5/EF6 attempts.
Exact dollar amounts will drift after patch notes; percentages travel better than hard prices.
Common build failures
- Paint-first syndrome — Looks finished, fails first gust.
- Lifted show stance — Uncovers wheels, dumps threshold bonus.
- Overweight armor bricks — Survive one hit, miss every rotate.
- Copying a screenshot without flaps knowledge — Aesthetic clone, mechanical miss.
- No abort plan — Lab time wasted because the car died on a pride run.
Integration with the rest of the wiki
- Skill prerequisites: Getting started, How to intercept
- Mechanical deep dive: Flaps and threshold
- Spending aids: Parts ranking, Parts checklist
- Meta checks: Tier list hub, Updates hub
Build like an engineer: change one variable, test under a storm, keep what works. Tornado Interceptor Lab rewards that loop more than any secret menu.
Frequently Asked Questions
Quick answers about builds, intercepts, codes, and survival.
Should I copy the Cad 1 Prototype exactly?
Copy its lessons—stance, flaps, prototype aggression—then adapt to your budget and the current patch. Exact part IDs may change in beta.
How much money do I need before building?
Enough for one meaningful coverage or bracing upgrade plus a repair buffer. You do not need a full endgame bank to start iterating.
Why did my build feel worse after adding parts?
You may have raised ride height, unbalanced weight, or skipped the three-run test loop. Revert the last change and retest mid-tier storms.
Where do I track what to buy next?
Use the Parts Checklist with Parts Ranking priorities, then verify results against the Interceptor Tiers page.