
Tornado Interceptor Lab Interceptor Tier List
Which chassis philosophies win money runs and which ones fold in high wind.
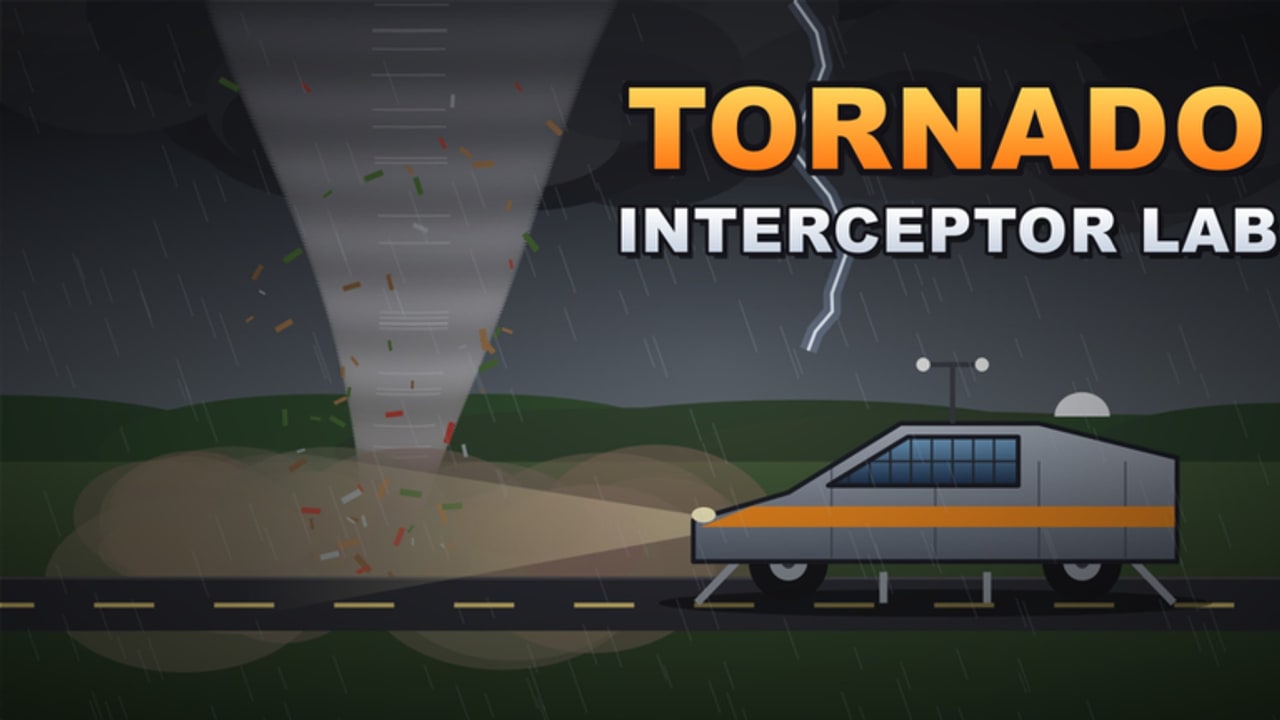
This interceptor tier list ranks vehicle philosophies in Tornado Interceptor Lab on Roblox during the Arvexa studio beta. Exact shop names will shift, so we rank roles and design patterns you can rebuild in the lab. Pair this page with parts ranking and the overview on the tier list hub.
Ranking criteria
- Intercept consistency on mid-tier storms
- Flap coverage potential (ground hug so wheels stay covered for roughly +30–50 threshold)
- Money per minute after failed approaches
- Survivability when an EF5/EF6 spike appears
- Cost to reach “good enough” from a fresh account
Cosmetic flex is not a criterion. Blue paint looks great on a Cad 1 Prototype inspired shell, but paint alone never earns an S.
S-Tier — Stable chase platforms
Who belongs here: Low-slung prototypes with mature flap coverage, predictable steering under load, and enough bracing to finish an intercept without shedding wheels. Community references like the Cad 1 Prototype (blue paint + flaps on a prototype chassis) point at this silhouette even when individual part IDs differ.
Playstyle: Take deliberate angles, keep ride height disciplined, and cash mid/high storms without gambling every spawn. These kits also give you a fighting chance to learn survive EF6 instead of exploding on entry.
Upgrade path: Follow how to build an interceptor and tick structural rows on the parts checklist before cosmetics.
A-Tier — Money farm specialists
Who belongs here: Lighter frames optimized for repeated EF2–EF4 style payouts. They may lack the last layer of EF6 armor, but they reposition quickly and forgive small steering errors.
Playstyle: Stack clean intercepts via how to intercept, bank cash, then decide whether to evolve into an S-tier survival kit. Excellent for players still finishing getting started.
Watch-outs: Tall spoilers or lifted suspensions that uncover wheels will drop you out of A-tier no matter how fast the acceleration tooltip looks.
B-Tier — Learning and hybrid kits
Who belongs here: Stock-leaning shop combinations and early lab experiments. They teach camera feel, throttle control, and the flaps lesson on flaps and threshold.
Playstyle: Treat every run as practice. Abort early when the funnel looks wrong. Use B-tier time to observe stronger players in the 10-player server and note their stance (community).
Upgrade path: One meaningful flap/chassis purchase per session beats random shopping sprees.
C-Tier — Fashion and meme builds
Who belongs here: Sky-high ride heights, flapless show cars, trailer-queen paint shells, and “it looked cool in the lab” prototypes that cannot hold a line.
Playstyle: Screenshot territory. If you insist on driving them, stick to weak storms and accept lost money. Do not take these into rare EF6 attempts.
Cad 1 Prototype as a reference, not a religion
The Cad 1 Prototype shows up in gameplay footage—including the video embedded on getting started—because it communicates the right ideas: prototype aggression, visible flaps, and a stance that respects ground coverage. Copy the ideas, then validate after each patch notes cycle. Beta balance can retune mass, flap authority, or tornado speeds without warning.
How to move up a tier in one evening
- Record two failed intercepts and note whether wheels were uncovered.
- Lower stance / improve flaps before touching paint.
- Buy the next item on parts ranking priority, not the shiniest shop tile.
- Re-run the same mid-tier storm three times; only then attempt harder weather.
- Share your before/after notes with friends using etiquette from the community page.
Tier list hygiene during beta
When Arvexa studio patches the lab, expect temporary chaos. A former S-tier kit might feel like A until players relearn flap timing. Recheck this page, the tier list hub, and live server performance instead of trusting a week-old screenshot. Ignore anyone selling an “S-tier unlocker script”—read safe script usage and keep your account.
Related pages
- Parts ranking
- Parts checklist
- How to build an interceptor
- Survive EF6
- Codes hub if you ever need a verified cash promo to fund the next tier jump
Rank the philosophy, build the stance, cover the wheels, and let the storms promote you.
Frequently Asked Questions
Quick answers about builds, intercepts, codes, and survival.
Is Cad 1 Prototype always S-tier?
It is a strong community reference for stance and flaps, but beta patches can change performance. Retest after updates instead of assuming a permanent rank.
Can a money-farm A-tier beat S-tier for progression?
Yes, if your goal is cash per hour on mid-tier storms. Move to heavier S-tier kits when you start hunting rare high-end weather.
Why are lifted show builds C-tier?
Uncovered wheels and weak flap coverage waste the community threshold bonus and make intercepts inconsistent.
How often is this list updated?
After meaningful lab or storm patches, and whenever community testing shows a clear shift in intercept consistency.